
|
|
Prog2 (v110)
|
DESCRIPTION
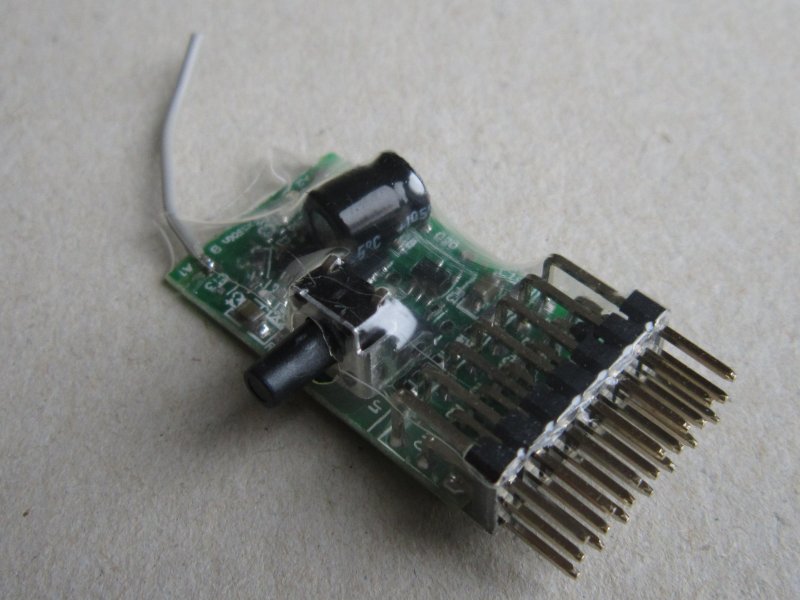
Prog2 is a tool for changing receiver variants. It can be powered with 3.2-10v.
Prog2 is only intended for shops because it does not require binding and if used at a show it could change settings in other DT receivers in the vicinity.
Prog2 is 'version-specific'. This is because the settings and menu structure for variants are stored in Prog2. This version (v110) is only appropriate for use with:
* Rx4x receivers with v510 software.
* Rx6x receivers with v610 software.
* Rx102 receivers with v110 software.
* Rx105 receivers with v110 software.
BINDING
Prog2 is prebound with new receivers. Should it be necessary to bind, follow the Prog1/Prog3 instructions.
MODES
Prog2 has 5 modes. The led will flash current mode once when it is switched on.
Shops may prefer to have more than one Prog2, each set to a different Mode and clearly labeled.
The mode can be changed at startup if the Button is pressed and the large Bind plug is on Pin 1, 2, 3, 4 or 5 when power is applied.
Prog2 saves your choice when you release the Button and remove the Bind plug.
Button + Pin1 > Switch ON = Mode 1 = Same as 'Prog3' for individual programming changes
Button + Pin2 > Switch ON = Mode 2 = Change Rx41d variants
Button + Pin3 > Switch ON = Mode 3 = Change Rx43d variants
Button + Pin4 > Switch ON = Mode 4 = Change Rx6x variants
Button + Pin5 > Switch ON = Mode 5 = Change Rx102 variants
Button + Pin6 > Switch ON = Mode 6 = Change Rx105 variants
Button + Pin7 > Switch ON = Mode 7 = Change Rx45 variants (from v110-4)
MODE 1 - Act as 'Prog3'
See Prog3 instructions.
CHANGE Rx4x, Rx102 and Rx105 VARIANTS
Each row in the programming table is changed in an automated batch sequence. One row is changed per second. The Prog2 led flashes once per second while sending changes through and then goes solid. It takes 10-20s to change a variant. Any number of receivers can be changed at the same time.
Prog2 acts as a surrogate transmitter sending out a continuous signal. The led on the receiver starts with a 3-flash when locked on to the Prog2 signal. It should then flash rapidly as each change is validated after you press the Prog2 Button.
If all changes are accepted, the receiver will (1) continue flashing rapidly for 7 seconds after the Prog2 led goes solid and (2) when the slower flashes resume they will increment by 1 (eg: 3-flash becomes a 4-flash). The receiver will always do both if the batch is accepted and neither if the change failed. If the change failed you must solve the problem as the settings are now not certain. It will usually be because you are using the wrong Mode.
Prog2 Instructions
1. Switch Prog2 on and check you have a 2-flash for Rx41d or 3-flash for Rx43d or 5-flash for Rx102 or 6-flash for Rx105 or 7-flash for Rx45.
2. Switch target receiver on and wait for the receiver's 3-flash
3. Place the large Bind plug on the appropriate Prog2 pin to select a variant
4. Press the Prog2 Button.
5. The receiver led should flash rapidly 7s longer and flashes then increment by 1.
6. Switch Prog2 and receiver off if no more changes are required.
|
MODE 2 - Rx41d Pin1 = Rx41d-1 Pin2 = Rx41d-2 Pin3 = Rx41d-3 Pin4 = not used Pin5 = not used Pin6 = not used Pin7 = Rx41d-22 |
MODE 3 - Rx43d Pin1 = Rx43d-1 Pin2 = Rx43d-2 Pin3 = Rx43d-3 Pin4 = Rx43d-4 Pin5 = Rx43d-32 Pin6 = not used Pin7 = not used |
MODE 5 - Rx102 Pin1 = Rx102-1 Pin2 = Rx102-2 Pin3 = Rx102-3 Pin4 = Rx102-4 Pin5 = not used Pin6 = not used Pin7 = not used |
MODE 6 - Rx105 Pin1 = Rx105-1 Pin2 = Rx105-2 Pin3 = Rx105-3 Pin4 = Rx105-4 Pin5 = Rx105-5 Pin6 = Rx105-6 Pin7 = Rx105-7 Pin8 = Rx105-8 (any two Pins that sum to 8) |
MODE 7 - Rx45 Pin1 = Rx45d-v5 Pin2 = not used Pin3 = Rx45d-3 Pin4 = not used Pin5 = Rx45d-5 Pin6 = not used Pin7 = Rx45d-22 |
|
Variant |
Rx only |
Rx + ADD3 '6A1' |
Rx + ADD3 '3A2' |
|
Rx6x-1 |
Pin1 |
Pin7+4 |
Pin7+6+5+3 |
|
Rx6x-2 |
Pin2 |
Pin7+5 |
Pin7+6+5+4 |
|
Rx6x-3 |
Pin3 |
Pin7+6 |
Pin7+6+5+4+1 |
|
Rx6x-4 |
Pin4 |
Pin7+6+1 |
Pin7+6+5+4+2 |
|
Rx6x-5 |
Pin5 |
Pin7+6+2 |
Pin7+6+5+4+3 |
|
Rx6x-6 |
Pin6 |
Pin7+6+3 |
Pin7+6+5+4+3+1 |
|
Rx6x-22 |
Pin7 |
Pin7+6+4 |
Pin7+6+5+4+3+2 |
| Formula for Rx65b | As above |
Rx only +10 |
Rx only +20 |
| Rx65b led flashes |
Board 1-flash Variant 1-7 flash |
Board 2-flash Variant 1-7 flash |
Board 3-flash Variant 1-7 flash |